|
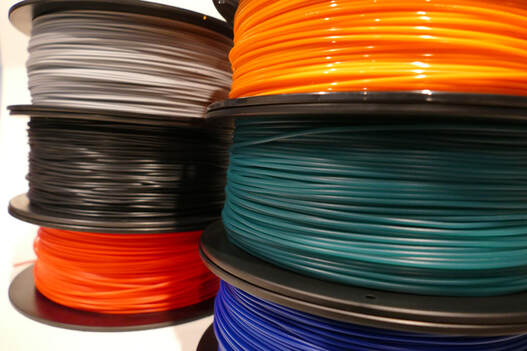
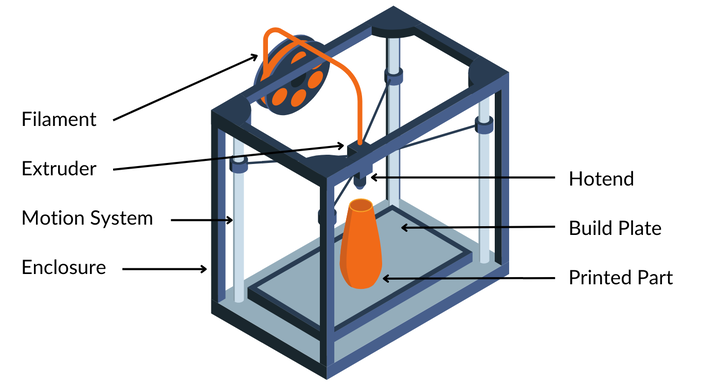
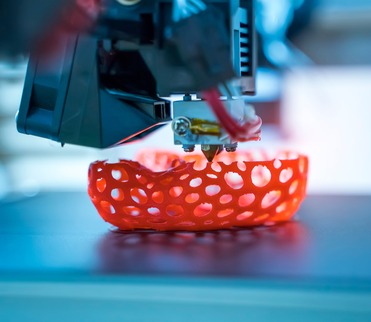
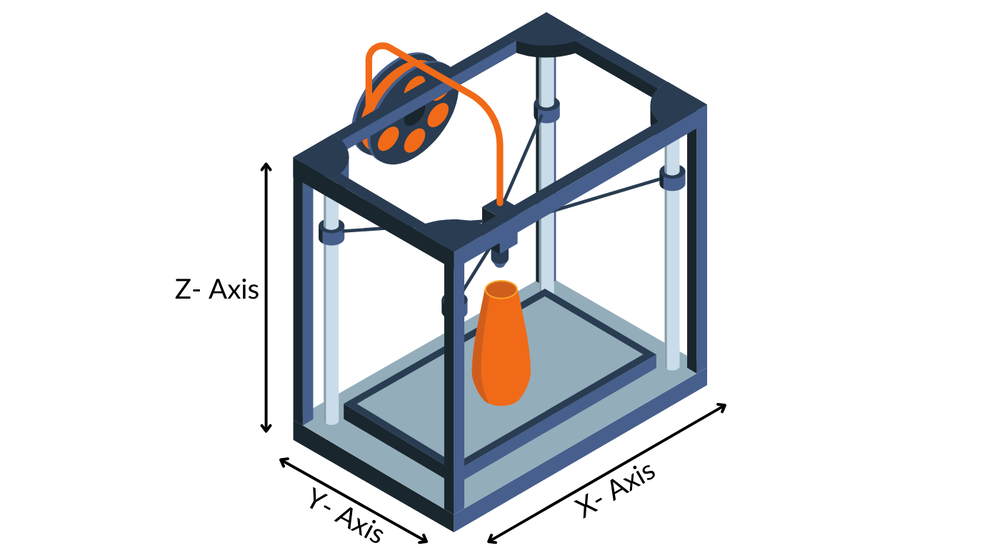
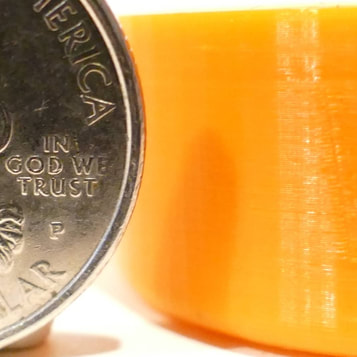
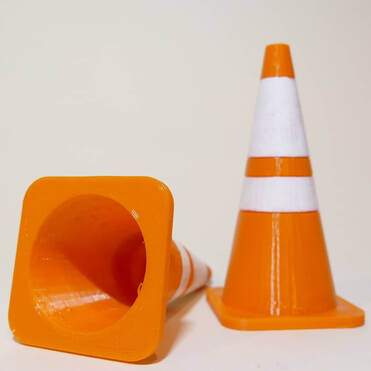
An easy-to-digest guide to FDM technology for beginners. FDM (or Fused Deposition Modeling) 3D printing is one of the most popular industrial 3D printing technologies available. It is also known as its generic name FFF, or Fused Filament Fabrication. How does this process work? What are the main parts of an FDM 3D printer? What does it look like? In this guide, we describe FDM printing in terms of the material flow from raw stock to a completed part. In additive manufacturing, this is known as the filament path. The filament path is aptly named because the material loaded into an FDM 3D printer is usually a filament - this is a long cord of material just a few millimeters thick. It has a very high geometric precision and is available in hundreds of different materials and colors. It is usually supplied in spools akin to string trimmer line. Spools of FDM Filament In order to turn this cord into a finished part, The filament path contains 5 stages, which can be associated with 5 parts of the printer itself. These stages are Push, Melt, Move, Stick, and Grow. Components of an FDM 3D Printer 1. Push (Extruder) First, the end of the filament is pulled from its spool and pushed into the printer. This is usually accomplished with a spring-loaded assembly that puts pressure on the filament with a gear or set of gears. This assembly is called the extruder. It pushes the material along a guided path. The extruder is very precise - the flow control here ultimately determines how much material is added to the final part at any given moment during the printing process. 2. Melt (Hotend) Depending on the specific printer, the extruder may have to push the filament some distance (usually through a smooth flexible tube called a bowden tube) until it reaches the hotend. The hotend is an assembly responsible for maintaining an elevated temperature specific to each material. The hotend can be broken down into several sections, each with an important duty. Within the hotend, the filament first reaches the heat break, which is usually a heatsink and cooling fan. These serve to mechanically affix the successive parts of the hotend while minimizing thermal conductivity through the system. This essentially isolates the up-to-now cool filament from the hot filament, which is created next. Next, the filament is pushed through the hotend’s heat block. This is a heating element clamped around the path through which the filament flows. It heats the filament which makes it viscous and ductile. This near-liquid material can range from 200 to 270C (392-518F). As it exits the hotend, material flows through the nozzle. This nozzle restricts the cross-sectional area of the filament path, forcing it down to a fraction of a millimeter. The small size of this nozzle, along with the printer’s motion system, enables parts with very precise geometry. Components of an FDM Hotend 3. Move (Motion System) The motion system is a 3D printer’s primary mechanical assembly. There are many different possible configurations but they all accomplish the same task. Motion systems are typically powered by stepper motors, which convert digital signals into discrete angular rotations. Power transfer devices like belts, pulleys, threaded rods, and linear bearings are used to convert the stepper motor rotation into linear movements. The motion system moves the hotend (and therefore the aforementioned nozzle) around on a horizontal plane. This plane is defined by the X-axis and Y-axis. Driven by the motion system, the nozzle can be imagined drawing a picture on a flat surface with very ‘thick’ ink. The motion system draws a pattern according to a set of coded instructions called gcode derived from a digital CAD model of the part to be printed. This creates the first layer. This layer may be completely solid, it may be a hollow outline of the part, or it may have a patterned interior akin to a waffle. FDM 3D Printer Axes 4. Stick (Build Plate) Next, it is important to contextualize the surface onto which this first layer is printed. The build plate (often called the print bed, or just bed) is held to a very tight flatness tolerance. Most build plates are kept at an elevated temperature during printing due to a resistive heating pad mounted on its bottom surface. This ensures that the first layer (and therefore successive layers) stick firmly down and remain stationary relative to the nozzle. This is paramount for a successful print. Sometimes adhesives are added prior to printing in order to resist the part warping or dislodging from the build plate. Build plates commonly have a removable top sheet which facilitates removing the finished part from the printer. Build plate heating typically accounts for the bulk of energy used in FDM 3D printing. As material is deposited onto the print bed, it is usually cooled actively by a fan often called a part cooling fan. This fan helps bring the material back below its melting temperature although it may still be kept warm by the print bed. Accelerated cooling is especially important when printing at high speeds. In order to print a successive layer accurately, the layer beneath it must be solidified. 5. Grow (Enclosure) Revisiting the filament path we have been describing, only a single layer has been deposited onto the build plate. After that is complete, the motion system raises the nozzle incrementally in the Z-axis. This increment is typically between 0.1 and 0.2mm. A new layer is then repeated. Instead of sticking to the build plate, this layer sticks to the previous layer. The part becomes 0.1mm - 0.2mm taller. An FDM Printed Part with 0.1mm Layers Next to a U.S. Quarter. The enclosure of a printer usually has additional features that add to the quality of the printed part. Most printers have sealed enclosures to keep dust, etc. from contaminating the process. Many printers have temperature control features like enclosure fans or heaters. These help the enclosure maintain a particular temperature during the process, which is extremely important depending on the material being printed. After the printer has deposited the final layer, the motion system stops and all the heating elements cool down. A simple length of cord has been transformed into a beautiful and functional part. Once the part has cooled down, it may be removed from the printer. Finished FDM Parts
0 Comments
|
|
Copyright © 2023 Cross Product Design, LLC. All Rights Reserved. |

